
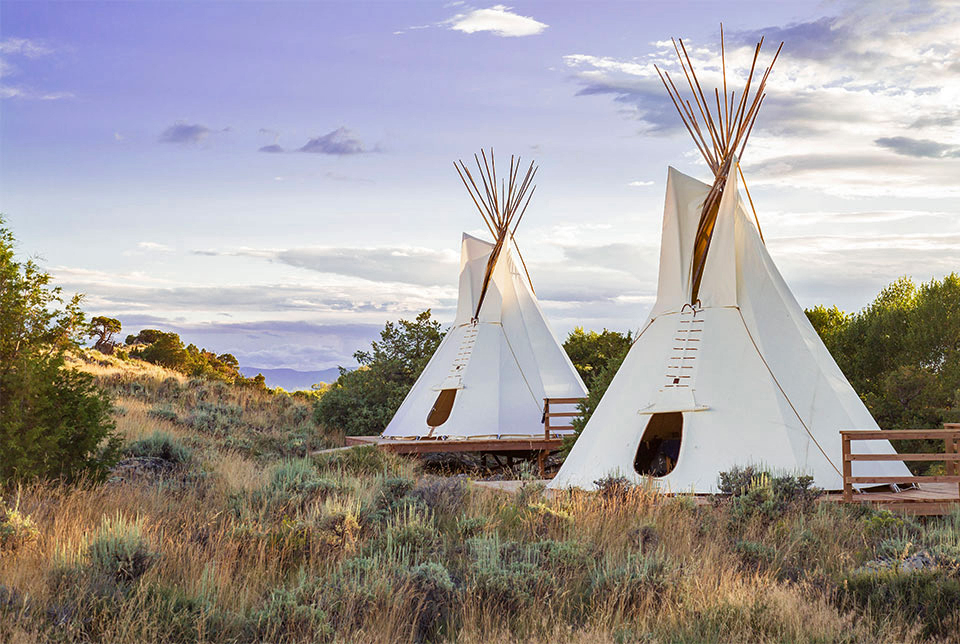

Earthworks Tipis
Tipi Pitching Instructions
Everything you need to raise, secure, and care for your Earthworks Tipi — including the full step-by-step PDF guide.
Detailed Instructions Included
The process isn't complicated, but the details matter. Measure correctly, secure every knot and pole to eliminate slipping, and read all instructions carefully before you start.
A Group Project
Pitching a tipi is usually a project a small group of friends can tackle. Small to medium-sized tipis can be pitched in a day or less.
Detailed Instructions Included
Full step-by-step instructions are included with every tipi. Measure carefully, secure your knots and poles, and read all instructions before you start.
Pitch It Correctly
Earthworks Tipis are not engineered for snow or wind loads. Install according to our instructions and use the proper hardware at every attachment point to minimize fabric movement.
Mind the Wind
Excessive fabric movement — or “wind whip” — wears the cover and can deform the framework. Properly stretching and securing the cover protects your investment.
Pitch It Correctly
All structures have weight and wind-load limits. The fabric cover should be stretched and attached with the proper hardware at every provided point to minimize fabric movement. Excessive movement wears the fabric and can warp the framework.
Anchoring & Storage
- If a helper claims expertise, still follow our written instructions and verify every detail on final installation.
- Leaving the tipi unattended? Make sure it’s properly anchored and battened down.
- For long absences, consider taking the tipi down and storing it.
- Always store the cover completely dry, in a ventilated area, away from rodents.